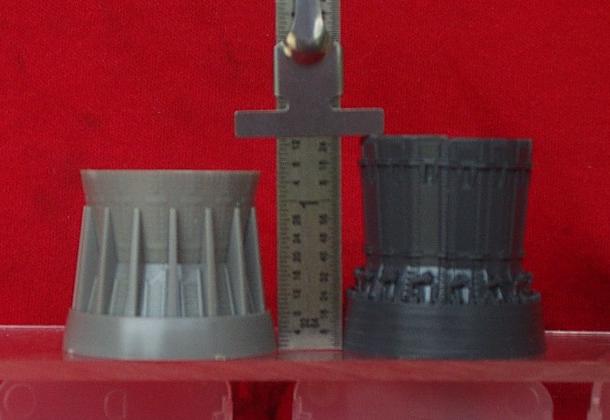
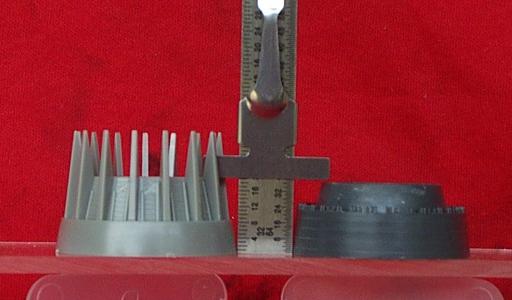
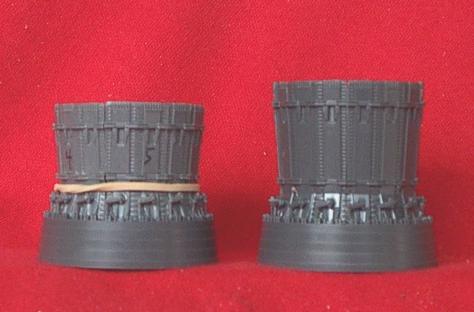
It came to my attention while I was working on updating some parts I used to sell for the Revell F-15 kits, that I might be able to use the Tamiya parts to upgrade the appearance of the tailcone for the Revell kits. I compared the back end of the tailcone ring and the diameters for the Revell and Tamiya kit parts were the same and the height of these pieces were also the same. However, I discovered that the completed Tamiya tailcones were significantly longer than the Revell parts.
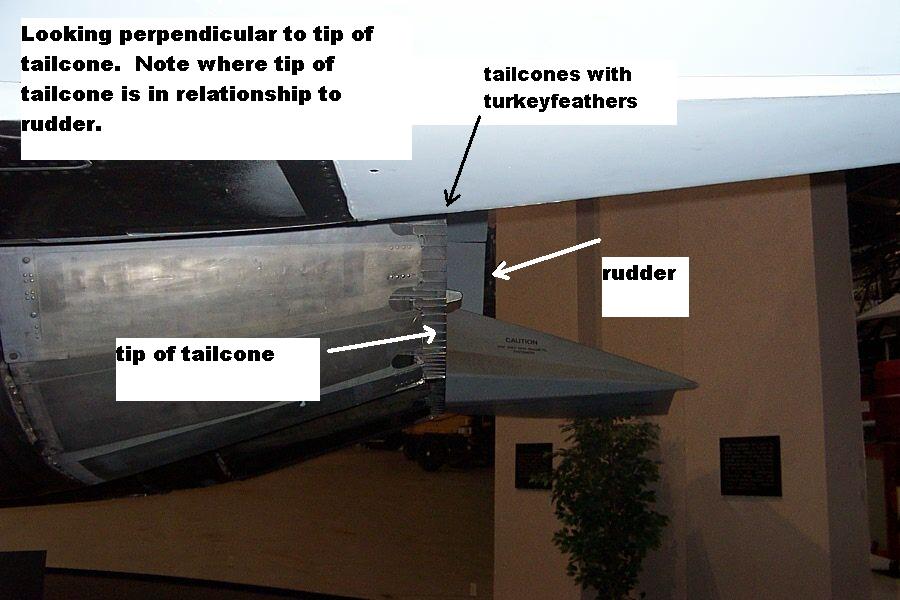
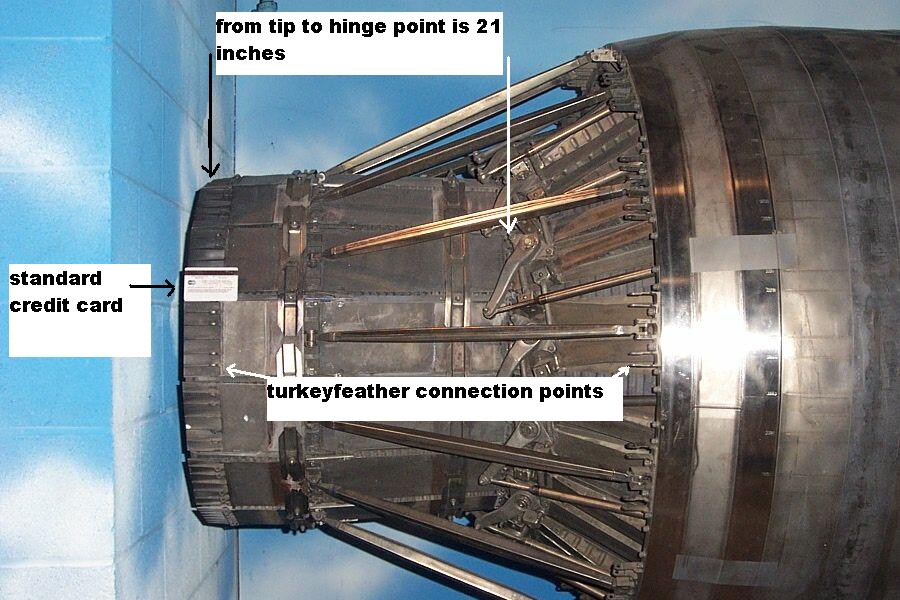
I am fortunate enough to live near Warner Robins, GA, home of the F-15 Depot and an excellent museum. I went to the museum and and took some pictures and measurements of the tailcones. I then measured the kit parts.
The problem is in the length of the hinged portion of the Tamiya parts. In scale they measure 28 inches, the Revell parts measure 20 inches. The actual aircraft parts measure 21 inches.
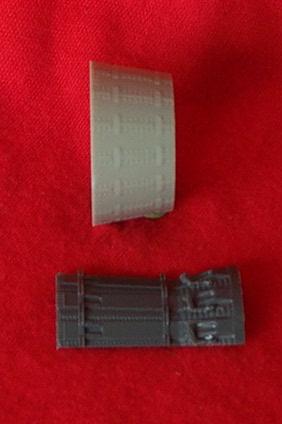
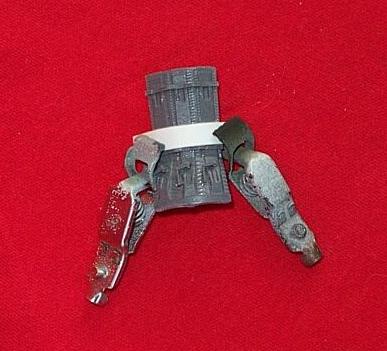
The Tamiya nozzle pieces can be shortened by 7/32nds of an inch and they will be the correct length. The way to do this is fairly simple. Cut a thin piece of plastic 7/32nds wide. On each of the 5 kit parts, the pieces have two molded connectors across the three pedals that are molded on each part. Use the 7/32nds strip and lay it on the top edge of the lower conector(photo 1) on each of the pedals and mark the upper cut line. Make a cut on each of the nozzle pieces at the top edge of the of the lower connector then cut off the excess on the upper piece using your marked line as a guide(photo 2). Place each of the lower pieces into the kit ring (I used a rubberband to hold them in place). Now take each of the upper pieces, that you have shortened, and glue it to a lower piece (use the inside detail as a guide). As you do this, avoid gluing the lower pieces to the ring and don't glue them to eachother, if necessary, tape them together as you go around the circle to insure you have them aligned. Once finshed gluing, fill and clean-up each pedal and finish the cones.