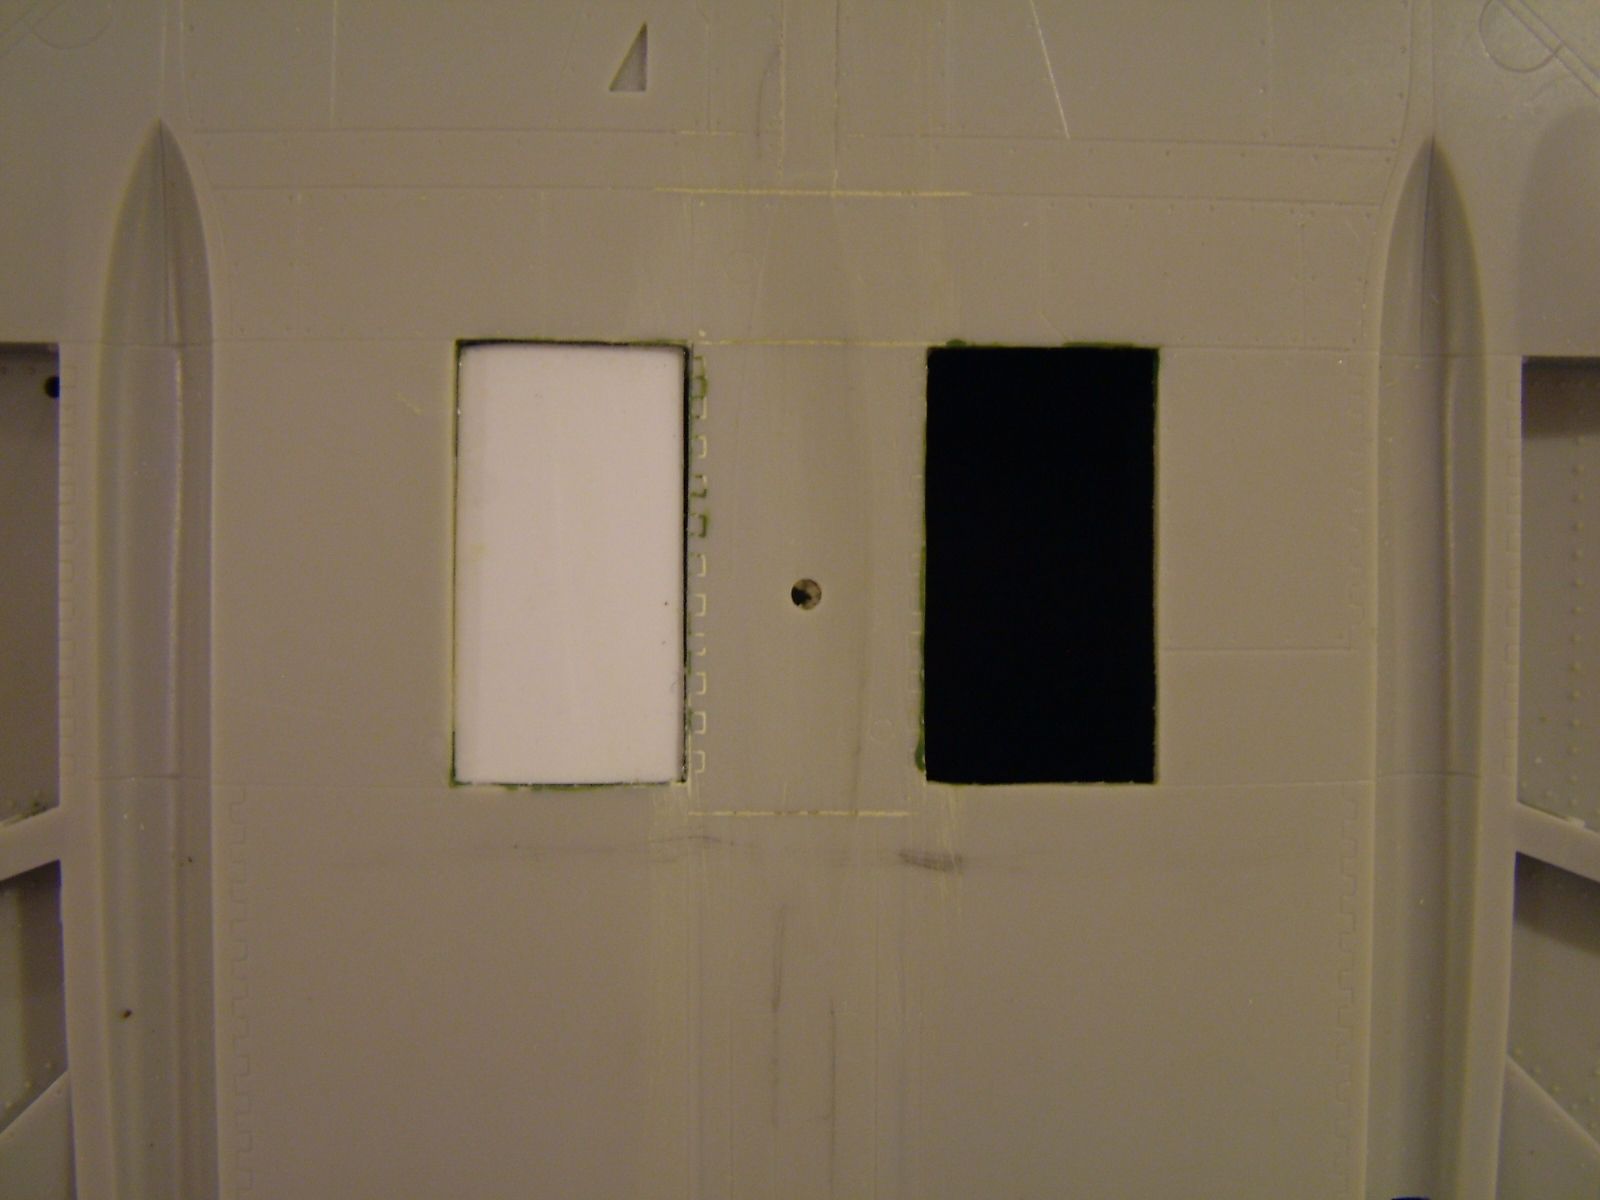
This is the Revell kit with the door area cut out and a thin piece of plastic glued into the one opening, you would do the same to the other opening. Once dry, cut away the plastic to leave only a thin "ledge/lip" which is where the closed door would stop.
REVELL KIT
REVELL KIT
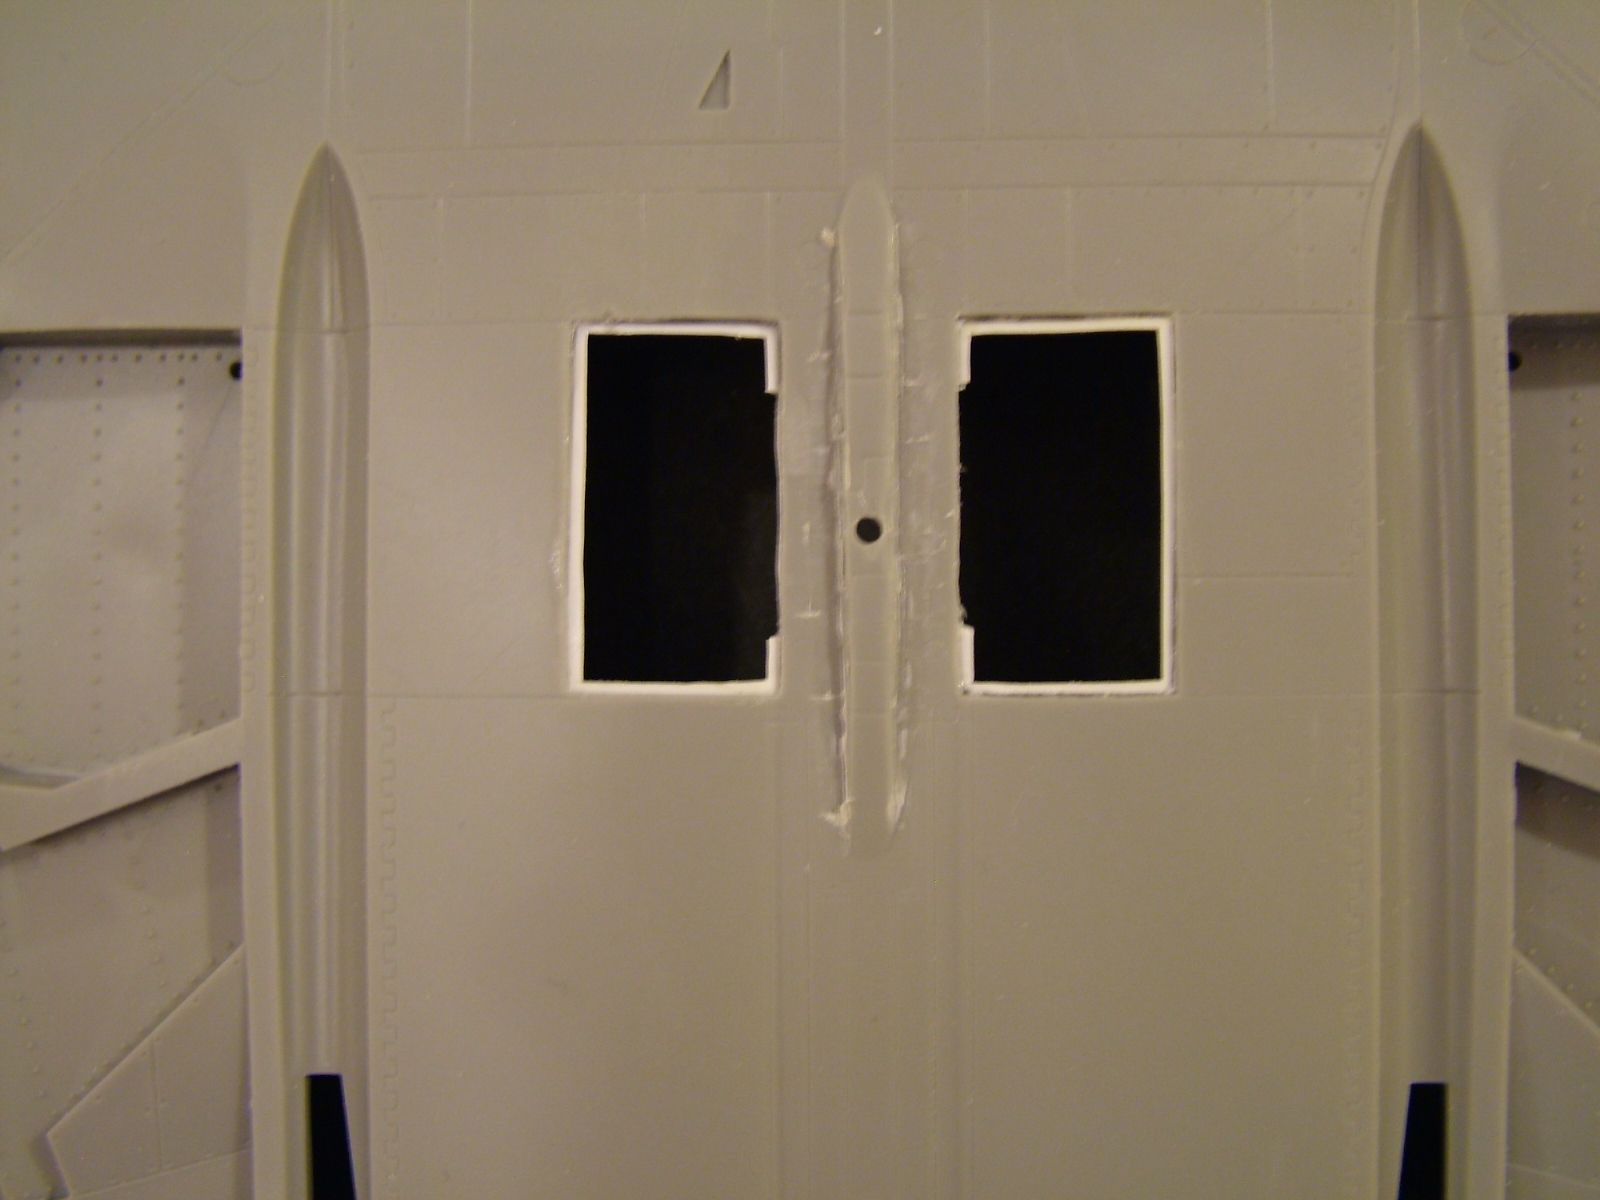
This is what it looks like when the excess plastic is cut away and the "ledge/lip" remains.
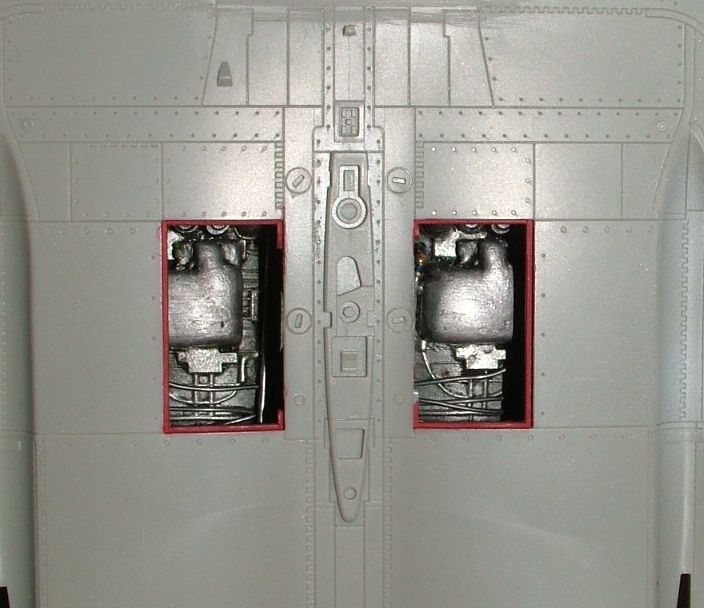
This is the Tamiya with their area removed
and sanded down leaving only the ledge/lip (painted red), and with a engine box inserted.
TAMIYA KIT
INSTRUCTIONS FOR THE DOORS
For the Tamiya , kit evenly sand the sides down to fit the Tamiya whole in the wing. On the Tamiya kit, cut away the existing boxes but don’t completely sand away the plastic. Sand the plastic down so as to leave a lip showing when viewed from the bottom. For the Revell kit, cut out the appropriate area on the bottom of the wing. (note: an area of the plastic on the inside of the fuselage section will also have to be cut out so the box fits.) If desired, create a “lip” using thin sheet plastic. I did it by making a small rectangle of sheet plastic that fit the hole, pressing it slightly into the hole to create the lip. Glue the rectangle into the hole. When dry, cut away the excess plastic by starting in the center of the rectangle and working out to the edge leaving enough plastic for a lip, the are of the hinge doesn’t have a lip except for the very corners.